परिचय
The Akasa Maxwell RC Pro is a premium fanless aluminium case designed specifically for the ASUS NUC 14/15 Pro (Revel Canyon / Cyber Canyon) mini-PC. This case provides a silent, high-performance computing solution by utilizing passive cooling technology, making it ideal for various applications including digital signage, security systems, home theaters, and quiet gaming environments. Its compact and stylish design ensures it fits seamlessly into any setup.
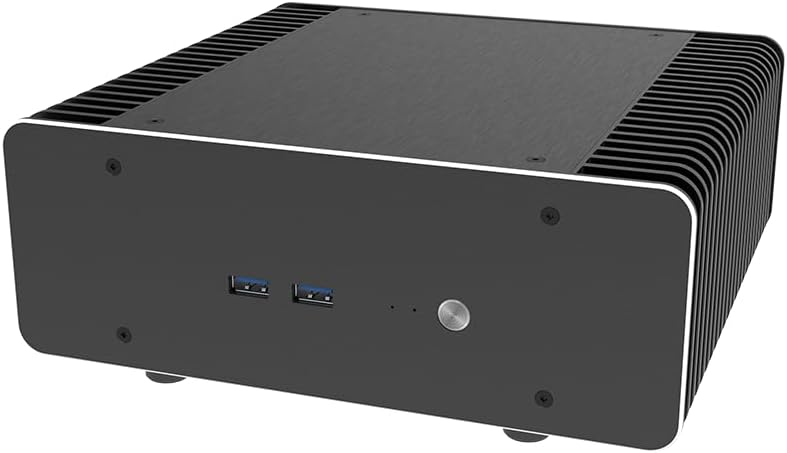
Figure 1: The Akasa Maxwell RC Pro fanless case, showcasing its sleek, black aluminium design with ribbed sides for heat dissipation and front panel USB ports.
सेटअप मार्गदर्शक
This section provides instructions for installing your ASUS NUC 14/15 Pro motherboard into the Akasa Maxwell RC Pro case and setting up the thermal solution.
1. Compatibility and Preparation
Ensure your ASUS NUC motherboard is compatible with the Maxwell RC Pro case (ASUS NUC 14/15 Pro, Revel Canyon / Cyber Canyon). Gather all necessary tools, including a screwdriver and thermal paste (if not pre-applied or included).

Figure 2: The ASUS NUC 14/15 Pro motherboard, which is designed to fit inside the Akasa Maxwell RC Pro case. The case can be positioned horizontally or vertically.
2. Thermal Module Installation
The case features an internal passive thermal module with dual 8mm copper heat pipes designed for efficient CPU heat transfer. Carefully install the thermal module onto the CPU of your NUC motherboard, ensuring proper contact for optimal heat dissipation. Refer to the detailed instructions provided with the case for precise placement and securing of the heat pipes and heatsink.

Figure 3: Diagram illustrating the internal passive thermal module with 8mm copper heat pipes, designed to transfer heat from the CPU to the case's fins for silent cooling up to 40W TDP.
3. Motherboard and Component Installation
Once the thermal module is in place, carefully mount the NUC motherboard inside the Maxwell RC Pro case. Secure it using the provided screws. Connect any necessary internal cables, such as those for the power button, USB ports, and storage devices (2.5" SSD/HDD). Ensure all connections are firm and correctly oriented.
२.२. बाह्य कनेक्शन
After the internal components are secured, attach external accessories. This includes connecting antennas (if using Wi-Fi/Bluetooth), power adapters, and display cables. The case supports various power adapters (e.g., 90W, 120W) and offers multiple ports for connectivity.

Figure 4: The Akasa Maxwell RC Pro case with external antennas and a power adapter connected, demonstrating its readiness for a complete build.
ऑपरेटिंग सूचना
The Akasa Maxwell RC Pro is designed for silent and efficient operation, leveraging its fanless cooling system.
सायलेंट ऑपरेशन
Due to its fanless design and reliance on SSD storage (recommended), the Maxwell RC Pro provides a completely silent computing experience (0dB). This makes it ideal for environments where noise reduction is critical, such as recording studios, home theaters, or quiet office spaces.
डिस्प्ले कनेक्टिव्हिटी
The case allows for extensive display connectivity, supporting up to four 4K displays simultaneously through dual HDMI 2.1 and Thunderbolt 4 ports (depending on the NUC motherboard's capabilities). This versatility makes it suitable for multi-monitor setups, digital signage, or immersive gaming.

Figure 5: The Akasa Maxwell RC Pro case demonstrating its capability to connect up to four 4K displays simultaneously, ideal for multi-tasking or digital signage.
Compact and Versatile Placement
With a compact 3.6L volume and a stylish brushed aluminium finish, the Maxwell RC Pro can be placed horizontally or vertically, adapting to various space constraints and aesthetic preferences.
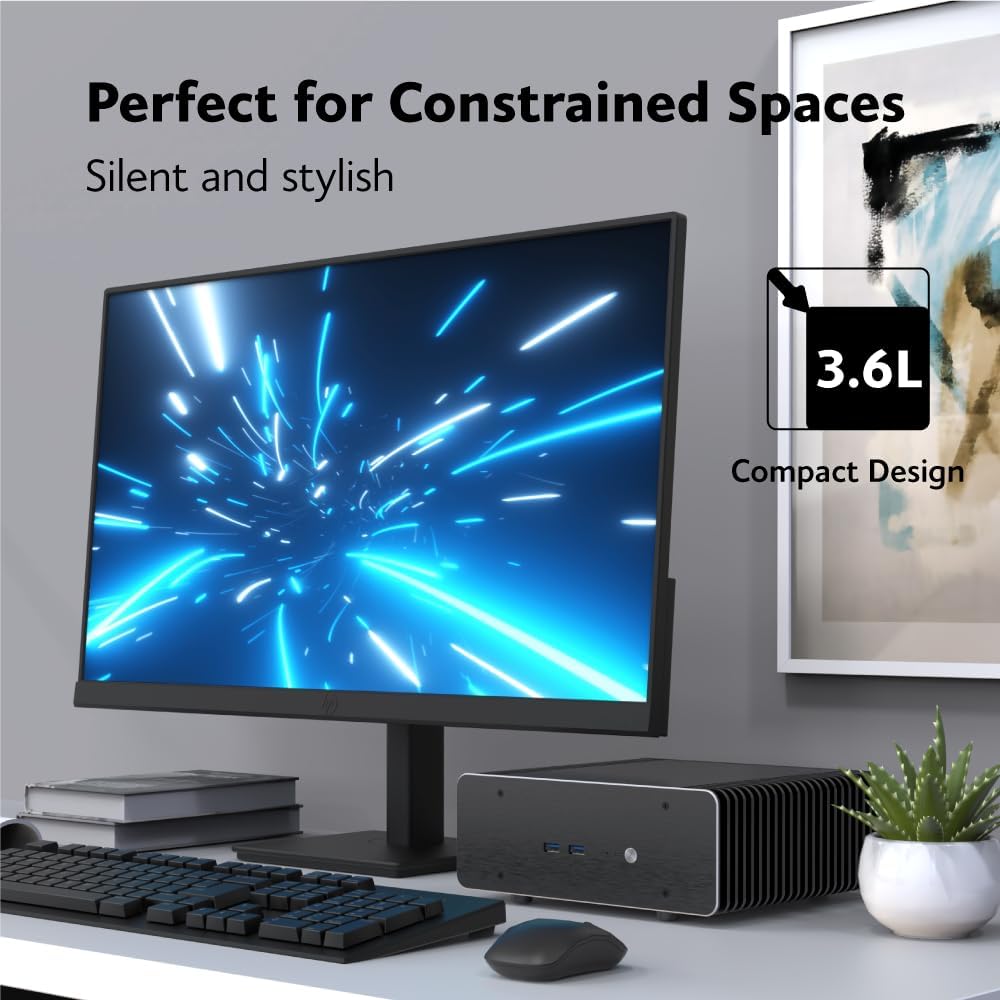
Figure 6: The Akasa Maxwell RC Pro case integrated into a compact desk setup, highlighting its small footprint and silent operation.
देखभाल
The Akasa Maxwell RC Pro fanless case requires minimal maintenance due to the absence of moving parts like fans. Regular cleaning will help maintain optimal performance and appearance.
- धूळ काढणे: Periodically wipe down the exterior of the case with a soft, dry cloth to remove dust. For accumulated dust in the cooling fins, use compressed air to gently clear it.
- अडथळे टाळा: Ensure that the cooling fins are not obstructed by objects, as this can impede airflow and reduce cooling efficiency.
- पर्यावरणीय परिस्थिती: Operate the case in a clean, dry environment with adequate ventilation to prevent dust buildup and ensure proper heat dissipation.
समस्यानिवारण
If you encounter issues with your Akasa Maxwell RC Pro setup, consider the following common troubleshooting steps:
- शक्ती नाही:
- Verify that the power adapter is securely connected to both the case and a working power outlet.
- Ensure the internal power cable from the case to the NUC motherboard is correctly seated.
- डिस्प्ले आउटपुट नाही:
- Check all HDMI and Thunderbolt 4 display cables are firmly connected to both the NUC and the monitor(s).
- मॉनिटर योग्य इनपुट स्रोतावर सेट केला आहे याची खात्री करा.
- Test with a single monitor and different cables if possible.
- अतिउष्णतेची चिंता:
- Confirm that the thermal module and heat pipes are correctly installed and making proper contact with the CPU.
- Ensure the case's cooling fins are not blocked and have sufficient air circulation around them.
- Verify that the CPU TDP of your NUC does not exceed the case's cooling capacity (up to 40W TDP).
- USB/Peripheral Issues:
- Ensure internal USB headers are correctly connected from the case to the motherboard.
- Test peripherals on different ports or another computer to rule out device issues.
या पायऱ्या वापरूनही समस्या कायम राहिल्यास, अधिक मदतीसाठी कृपया समर्थन विभाग पहा.
तपशील
| वैशिष्ट्य | तपशील |
|---|---|
| ब्रँड | आकाशा |
| मॉडेलचे नाव | A-NUC102-M1B |
| सुसंगतता | ASUS NUC 14/15 Pro (Revel Canyon / Cyber Canyon) |
| कूलिंग प्रकार | Fanless (Passive) |
| Max CPU TDP | 40W पर्यंत |
| साहित्य | Aluminium with Copper Heatpipes |
| परिमाण (अंदाजे) | ११.९९ x १०.०१ x ५ सेमी (पॅकेजचे परिमाण) |
| आयटम वजन | 2.9 किलो |
| स्टोरेज सपोर्ट | 2.5" SSD/HDD |
| आउटपुट प्रदर्शित करा | Dual HDMI 2.1, Thunderbolt 4 (supports up to four 4K displays) |
| कनेक्टिव्हिटी | HDMI, Thunderbolt 4, Ethernet, USB (Total 4 USB ports) |
| प्रोसेसर सुसंगतता | Intel Core Ultra (up to Core™ i7) |
| मेमरी प्रकार | DDR5 RAM (NUC dependent) |
हमी आणि समर्थन
For detailed warranty information regarding your Akasa Maxwell RC Pro case, please refer to the documentation included with your purchase or visit the official Akasa webसाइट. वॉरंटी अटी आणि शर्ती प्रदेश आणि किरकोळ विक्रेत्यानुसार बदलू शकतात.
If you require technical assistance, have questions about installation, or need to report an issue, please contact Akasa customer support through their official channels. You can find contact information and additional resources on the Akasa webसाइट:


