1. परिचय
This manual provides detailed instructions for the setup, operation, maintenance, and troubleshooting of your Ducky One 3 Mini Pro Nazca 8K 60% Hotswap RGB PBT Mechanical Keyboard. Please read this manual thoroughly to ensure proper usage and to maximize your keyboard's performance.
2. सेटअप
2.1 पॅकेज सामग्री
- Ducky One 3 Mini Pro Nazca Mechanical Keyboard
- USB-C to USB-A Braided Cable
- कीकॅप पुलर
- पुलर स्विच करा
- Additional Keycaps (design specific)
२.२ कीबोर्ड जोडणे
- Locate the USB-C port on the back of your Ducky One 3 Mini Pro keyboard.
- Connect the USB-C end of the provided braided cable to the keyboard.
- केबलचा USB-A टोक तुमच्या संगणकावरील उपलब्ध USB पोर्टशी जोडा.
- The keyboard will automatically be detected and installed by your operating system.

Image: The Ducky One 3 Mini Pro keyboard connected via its braided USB cable, highlighting the cable's quality and the keyboard's compact design.
३.५ कीबोर्ड अँगल समायोजित करणे
The keyboard features adjustable feet on the underside to change the typing angle for ergonomic comfort. Gently flip out the stands to your preferred height.

Image: The underside of the Ducky One 3 Mini Pro keyboard, illustrating the adjustable feet that allow users to customize the typing angle for improved ergonomics.
3. ऑपरेटिंग सूचना
3.1 प्रमुख वैशिष्ट्ये
- ६५% लेआउट: Compact design, ideal for maximizing desk space and portability.
- Cherry MX2A Brown Switches: Tactile switches with a 55g actuation force, offering a balance of typing feedback and quiet operation.
- 8K Polling Rate: Ensures ultra-responsive input with minimal lag for high-performance gaming.
- Triple-Shot PBT Keycaps: Highly durable keycaps with legends that will not fade, providing a premium typing experience.
- South-Facing RGB Lighting: Customizable RGB backlighting for enhanced visibility and aesthetic appeal, compatible with most keycaps.
- हॉट-स्वॅपेबल स्विचेस: सोल्डरिंगशिवाय स्विचेस सहजपणे बदलण्याची परवानगी देते.
- Poron Film: Integrated for enhanced typing comfort, reduced noise, and increased durability.

प्रतिमा: स्पष्ट वरपासून खालपर्यंत view of the Ducky One 3 Mini Pro keyboard, showcasing its compact 60% layout and keycap design.

Image: The Ducky One 3 Mini Pro keyboard with its customizable RGB backlighting illuminated, demonstrating its aesthetic capabilities.
3.2 Function Layer
Due to its 60% layout, many functions are accessed via a secondary layer using the Fn key in combination with other keys. Refer to the keyboard's included quick guide or Ducky's official website for a full list of function layer commands, including media controls, lighting adjustments, and macro programming.
4. देखभाल
५.१ कीबोर्ड साफ करणे
- साफ करण्यापूर्वी तुमच्या संगणकावरून कीबोर्ड डिस्कनेक्ट करा.
- मऊ, लिंट-फ्री कापड वापरा dampened with a small amount of water or a mild cleaning solution to wipe down the keycaps and casing.
- खोल साफसफाईसाठी, दिलेल्या कीकॅप पुलरचा वापर करून कीकॅप्स काढा आणि कॉम्प्रेस्ड एअर किंवा लहान ब्रशने खाली स्वच्छ करा.
५.२ कीकॅप्स आणि स्विचेस बदलणे
Your Ducky One 3 Mini Pro keyboard features hot-swappable switches, allowing for easy customization.
- कीकॅप काढणे: Use the keycap puller to gently grasp the keycap and pull straight up.
- स्विच काढणे: Once the keycap is removed, use the switch puller to carefully grip the switch from its top and bottom clips, then pull straight up.
- स्विच स्थापना: Align the pins of the new switch with the holes on the PCB. Press down firmly until the switch clicks into place. Ensure pins are not bent.
- Keycap Installation: Place the desired keycap onto the switch stem and press down gently until it is secure.

Image: A hand demonstrating the use of a switch puller to remove a mechanical switch from the Ducky One 3 Mini Pro keyboard, highlighting its hot-swappable feature.
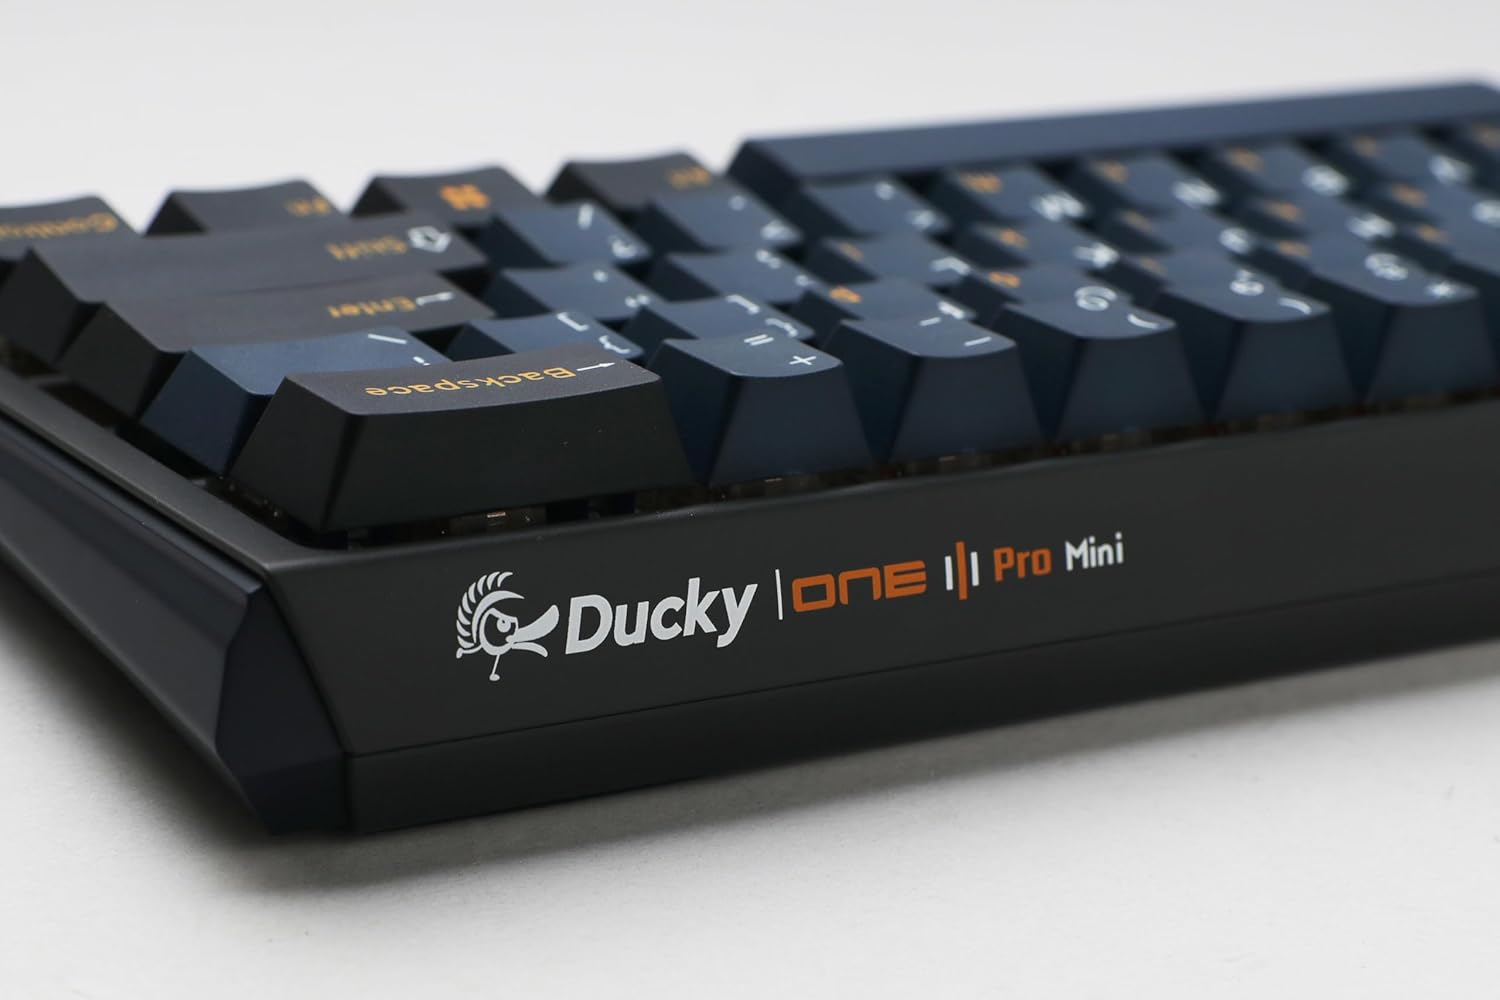
Image: Two mechanical switches and their corresponding keycaps are shown removed from the Ducky One 3 Mini Pro keyboard, illustrating the ease of customization.
5. समस्या निवारण
५.१ कीबोर्ड प्रतिसाद देत नाही
- USB केबल कीबोर्ड आणि संगणकाशी सुरक्षितपणे जोडलेली आहे याची खात्री करा.
- तुमच्या संगणकावरील दुसऱ्या USB पोर्टशी कीबोर्ड कनेक्ट करण्याचा प्रयत्न करा.
- समस्या कीबोर्डमध्ये आहे की संगणकात आहे हे निश्चित करण्यासाठी दुसऱ्या संगणकावर कीबोर्डची चाचणी करा.
- तुमचा संगणक रीस्टार्ट करा.
५.२ आरजीबी लाइटिंग समस्या
- Check the keyboard's function layer commands for RGB lighting control (e.g., brightness, mode changes).
- Ensure no software conflicts are present if you are using third-party lighting control applications.
- Perform a factory reset if necessary (refer to Ducky's official support for specific instructions for your model).
5.3 Key Chatter or Unresponsive Keys
- Due to the hot-swappable design, a switch might not be fully seated. Remove the keycap and gently press down on the switch to ensure it is properly installed.
- If a specific switch is faulty, use the switch puller to replace it with a new one.
- की कॅपखाली किंवा स्विचभोवती असलेले कोणतेही अवशेष स्वच्छ करा.
6. तपशील
| वैशिष्ट्य | तपशील |
|---|---|
| मॉडेल क्रमांक | DKON2361ST-CBUSPTCHNAZ001 |
| मांडणी | 60% |
| स्विच प्रकार | Cherry MX2A Brown (Tactile) |
| मतदान दर | 8,000 Hz |
| कीकॅप मटेरियल | Triple-Shot PBT (Polybutylene Terephthalate) |
| प्रकाशयोजना | South-Facing RGB Backlight |
| कनेक्टिव्हिटी | वायर्ड USB-C |
| परिमाण (L x W x H) | 12.2 x 4.33 x 1.57 इंच |
| आयटम वजन | 1.43 पाउंड |
| विशेष वैशिष्ट्ये | Hot-Swap, N-Key Rollover, Poron Film |
7. हमी आणि समर्थन
For detailed warranty information and technical support, please visit the official Ducky webवेबसाइटला भेट द्या किंवा त्यांच्या ग्राहक सेवेशी संपर्क साधा. वॉरंटी दाव्यांसाठी खरेदीचा पुरावा ठेवा.
डकी अधिकारी Webसाइट: www.duckychannel.com.tw


