1. परिचय
This manual provides essential instructions for setting up, operating, maintaining, and troubleshooting your MIRO A1 Unlocked 4G Cell Phone. Please read this guide thoroughly to ensure proper use and to maximize the device's performance.

Figure 1: MIRO A1 Smartphone
2. पॅकेज सामग्री
पॅकेजमध्ये सर्व वस्तू आहेत का ते तपासा:
- MIRO A1 Smartphone (1 unit)
- बॅटरी (1 युनिट)
- चार्जर (1 युनिट)
- यूएसबी केबल (१ युनिट)
- वापरकर्ता मॅन्युअल (1 युनिट)

आकृती २.१: समाविष्ट अॅक्सेसरीज
3. सेटअप
3.1. बॅटरी इन्स्टॉलेशन
- फोनचे मागचे कव्हर काळजीपूर्वक काढा.
- फोनमधील टर्मिनल्सशी बॅटरी संपर्क संरेखित करा.
- Gently press the battery into place until it is secure.
- Replace the back cover, ensuring it clicks into position.

आकृती 3: बॅटरी इंस्टॉलेशन
२. सिम कार्ड आणि मायक्रोएसडी कार्डची स्थापना
The MIRO A1 supports Dual SIM cards and a MicroSD card for expandable storage.
- With the back cover removed, locate the SIM card slots and the MicroSD card slot.
- Insert your Nano SIM card(s) into the designated SIM slots with the gold contacts facing down.
- If using a MicroSD card for additional storage (up to 256GB), insert it into the MicroSD card slot.
- सर्व कार्डे योग्यरित्या बसलेली आहेत याची खात्री करा.
आकृती 4: सिम कार्ड इंस्टॉलेशन
२.३. सुरुवातीचे चार्जिंग आणि पॉवर चालू
- Connect the USB cable to the phone's USB Type C port and the charger.
- Plug the charger into a power outlet. Allow the phone to charge for at least 30 minutes before first use.
- Press and hold the Power button (usually on the side) until the MIRO logo appears.
- Follow the on-screen prompts to complete the initial setup of the Android 14 Go Edition operating system.
4. ऑपरेटिंग सूचना
4.1. मूलभूत नेव्हिगेशन
The MIRO A1 runs on Android 14 Go Edition, designed for efficient performance. Use touch gestures to navigate:
- टॅप करा: एखादी वस्तू निवडा किंवा अॅप उघडा.
- स्वाइप: स्क्रीन किंवा सूचीमधून स्क्रोल करा.
- चिमूटभर: फोटो झूम इन किंवा आउट करा आणि web पृष्ठे
- लाँग प्रेस: संदर्भ मेनूमध्ये प्रवेश करा किंवा अॅप चिन्ह हलवा.
४.२. कॉल करणे आणि संदेश पाठवणे
- Open the 'Phone' app to dial numbers or access contacts.
- Open the 'Messages' app to send and receive SMS/MMS.
- For Dual SIM users, you can select which SIM to use for calls or messages before initiating them.
4.3. कॅमेरा वापर
The MIRO A1 features a 5MP rear camera and a 2MP front camera.
- होम स्क्रीन किंवा अॅप ड्रॉवरमधून 'कॅमेरा' अॅप उघडा.
- फोटो काढण्यासाठी शटर बटणावर टॅप करा.
- कॅमेरा टॉगल आयकॉन वापरून पुढील आणि मागील कॅमेऱ्यांमध्ये स्विच करा.

Figure 5: Camera Module
4.4. स्टोरेज व्यवस्थापन
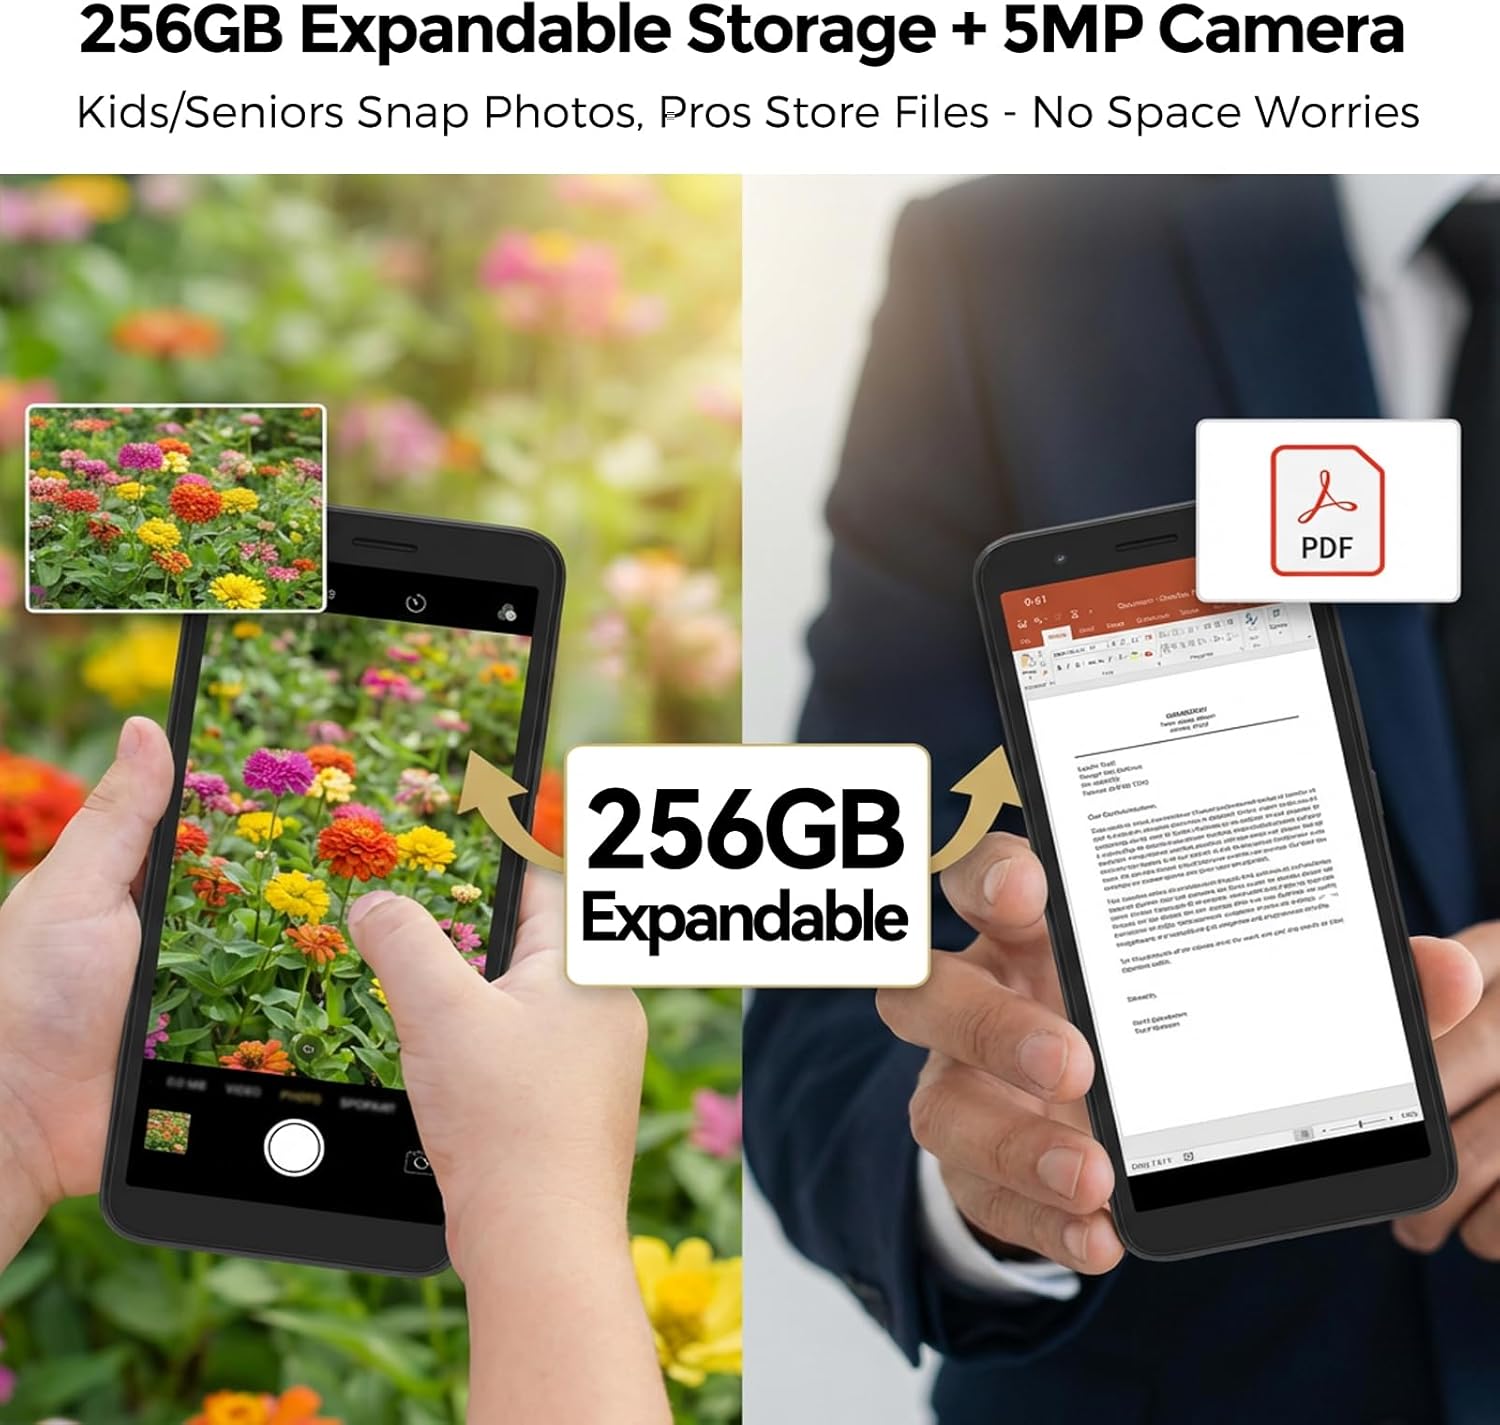
Your MIRO A1 comes with 32GB of internal storage, expandable up to 256GB via a MicroSD card.
- स्टोरेज वापर तपासण्यासाठी, येथे जा सेटिंग्ज > स्टोरेज.
- फोटो, व्हिडिओ आणि इतर हलवा files to the MicroSD card to free up internal space.

Figure 6: Expandable Storage
4.5. वाय-फाय कनेक्टिव्हिटी
- वर जा सेटिंग्ज > नेटवर्क आणि इंटरनेट > वाय-फाय.
- वाय-फाय चालू करा.
- सूचीमधून तुमचे इच्छित नेटवर्क निवडा आणि संकेतशब्द दिल्यास तो प्रविष्ट करा.
5. देखभाल
5.1. बॅटरी काळजी
- जास्त तापमान टाळा, ज्यामुळे बॅटरीचे आयुष्य कमी होऊ शकते.
- १००% चार्जिंग झाल्यानंतर फोन जास्त वेळ चार्जिंगवर ठेवू नका.
- जर बॅटरी काढता येण्यासारखी असेल तर ती योग्यरित्या बसलेली आहे याची खात्री करा.
5.2. डिव्हाइस साफ करणे
- फोनची स्क्रीन आणि बॉडी स्वच्छ करण्यासाठी मऊ, लिंट-फ्री कापड वापरा.
- कठोर रसायने किंवा अपघर्षक सामग्री वापरणे टाळा.
- बंदरे धूळ आणि कचऱ्यापासून मुक्त ठेवा.
5.3. सॉफ्टवेअर अद्यतने
Periodically check for system updates to ensure your phone has the latest features and security patches. Go to सेटिंग्ज > सिस्टम > सिस्टम अपडेट.
6. समस्या निवारण
१. फोन चालू होत नाहीये
- बॅटरी योग्यरित्या स्थापित आणि चार्ज झाली आहे याची खात्री करा.
- Connect the phone to the charger and wait a few minutes before attempting to power on again.
- जर बॅटरी काढता येण्यासारखी असेल, तर ती काढून पुन्हा घालण्याचा प्रयत्न करा.
6.2. Network Issues
- सिम कार्ड योग्यरित्या घातले आहे का ते तपासा.
- Verify that your mobile data is enabled in सेटिंग्ज > नेटवर्क आणि इंटरनेट > मोबाइल नेटवर्क.
- फोन रीस्टार्ट करा.
- Confirm with your carrier that your plan is active and compatible with an unlocked 4G device.
6.3. Storage Full
- Delete unnecessary apps, photos, and videos.
- हलवा files to a MicroSD card if one is installed.
- मधील अॅप्ससाठी कॅशे डेटा साफ करा सेटिंग्ज > अॅप्स आणि सूचना > [अॅपचे नाव] > स्टोरेज आणि कॅशे.
6.4. फॅक्टरी रीसेट
If persistent issues occur, a factory reset may be necessary. This will erase all data on your phone. Back up important data before proceeding.
- वर जा सेटिंग्ज > सिस्टम > रीसेट पर्याय.
- निवडा सर्व डेटा पुसून टाका (फॅक्टरी रीसेट).
- तुमच्या निर्णयाची पुष्टी करा.
7. तपशील
| वैशिष्ट्य | तपशील |
|---|---|
| ब्रँड | मिरो |
| मॉडेलचे नाव | MIRO A1 |
| ऑपरेटिंग सिस्टम | Android 14 Go संस्करण |
| रॅम मेमरी | 2 जीबी |
| अंतर्गत स्टोरेज | 32 जीबी |
| विस्तारण्यायोग्य स्टोरेज | 256 GB पर्यंत (मायक्रोएसडी) |
| स्क्रीन आकार | 5.99 इंच |
| ठराव | 576 x 1152 |
| मागील कॅमेरा | 5 MP |
| समोरचा कॅमेरा | 2 MP |
| बॅटरी क्षमता | 3000 mAh |
| सिम कार्ड स्लॉट संख्या | ड्युअल सिम (नॅनो) |
| कनेक्टिव्हिटी | 4G, Wi-Fi, Bluetooth, 3.5mm Headphone Jack, USB Type C |
| बायोमेट्रिक सुरक्षा | फिंगरप्रिंट ओळख |
| वजन | 182g (6.42oz) |
8. हमी आणि समर्थन
8.1. वॉरंटी माहिती
The MIRO A1 smartphone comes with a १ वर्षाची मर्यादित वॉरंटी खरेदीच्या तारखेपासून. ही वॉरंटी उत्पादन दोषांना कव्हर करते. गैरवापर, अपघात, अनधिकृत बदल किंवा सामान्य झीज यामुळे होणारे नुकसान यात समाविष्ट नाही.
8.2. ग्राहक समर्थन
For technical assistance, warranty claims, or further inquiries, please contact MIRO customer support through the retailer where you purchased the device or refer to the official MIRO webसंपर्क माहितीसाठी साइट.