
1. परिचय
This manual provides comprehensive instructions for the assembly, operation, and maintenance of your MININGEEK S400 Pro 10.8L Portable Mini-ITX Computer Case. Please read this guide thoroughly before beginning installation to ensure proper setup and optimal performance.
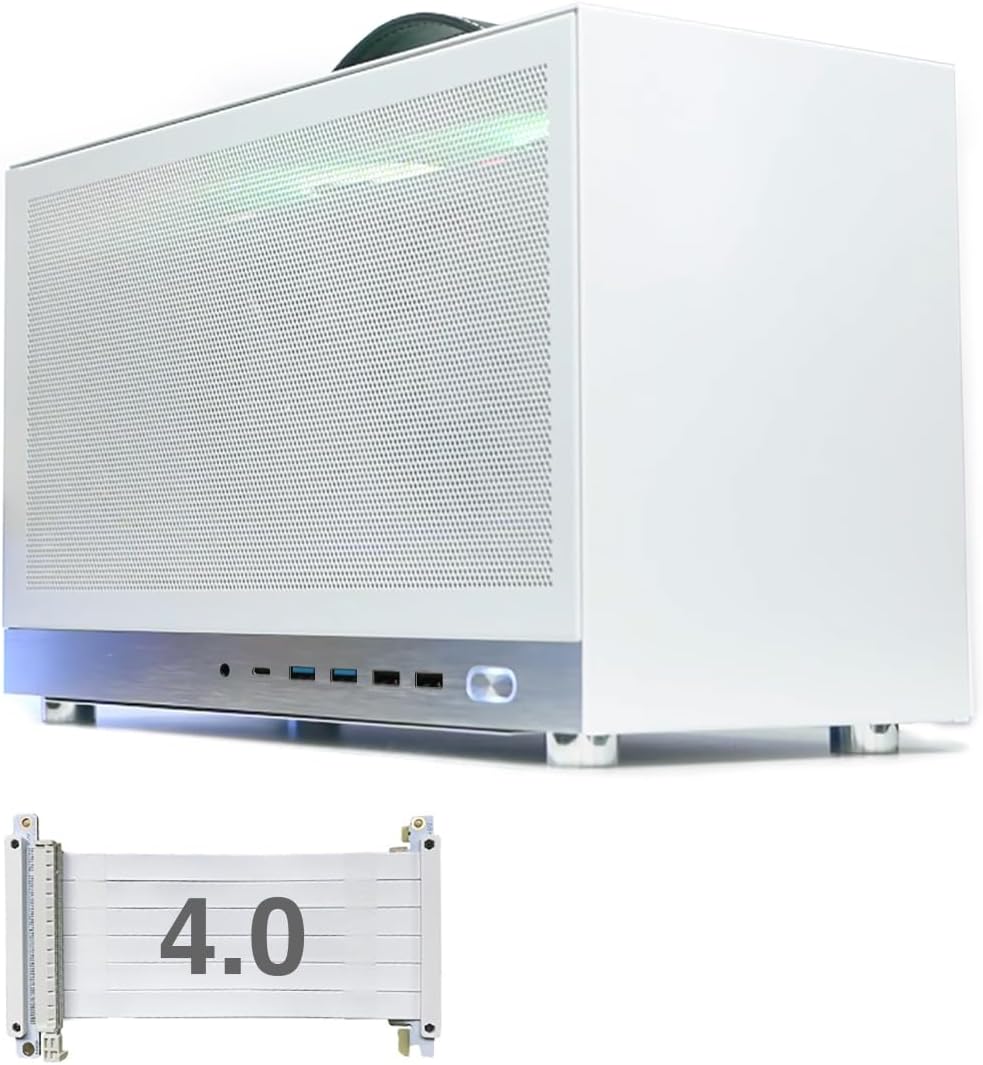
Figure 1: MININGEEK S400 Pro Mini-ITX Computer Case with included PCIe 4.0 riser cable.
2. सुरक्षितता माहिती
Always disconnect power before performing any installation or maintenance. Handle components with care to prevent electrostatic discharge. Wear anti-static gloves if available. Refer to individual component manuals for specific safety guidelines.
3. पॅकेज सामग्री
- MININGEEK S400 Pro Mini-ITX Computer Case
- PCIe 4.0 Riser Cable
- Detachable Carrying Handle
- Accessory Kit (screws, zip ties, etc.)
4. तपशील
| वैशिष्ट्य | तपशील |
|---|---|
| मॉडेलचे नाव | S400 प्रो |
| परिमाण (LxWxH) | ५३३ x ४७.८ x ३४४.३ मिमी (२०.९८ x १.८८ x १३.५६ इंच) |
| खंड | 10.8L |
| मदरबोर्ड सुसंगतता | मिनी-ITX |
| GPU समर्थन | Triple slot graphics cards up to 337mm long |
| PCIe Riser Cable | PCIe 4.0 included |
| CPU कूलरची उंची मर्यादा | 65 मिमी |
| पीएसयू प्रकार | SFX/SFX-L (recommended) |
| फॅन सपोर्ट | Bottom: 1x 120x25mm or 3.5" HDD; Top: 2x 120x15mm |
| समोर I / O पोर्ट | 2x USB 3.0, 2x USB 2.0, 1x Type-C, 1x Audio Jack |
| साहित्य | स्टील आणि ॲल्युमिनियम |
| आयटम वजन | 5.18 पाउंड |

Figure 2: Case dimensions (Length: 340mm, Width: 155mm, Height: 205mm).
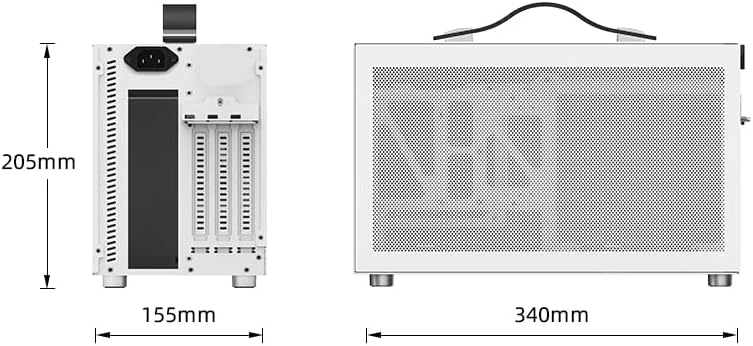
Figure 3: Internal layout showing component compatibility for SFX/SFX-L PSU, 2.5" SSD, ITX Board, CPU Cooler (max 65mm), and fan positions.
5. सेटअप आणि स्थापना
Follow these steps for proper assembly of your computer components within the S400 Pro case.
३.१. केस वेगळे करणे
- Remove the side panels by unscrewing the retaining screws.
- Carefully detach the side panels.
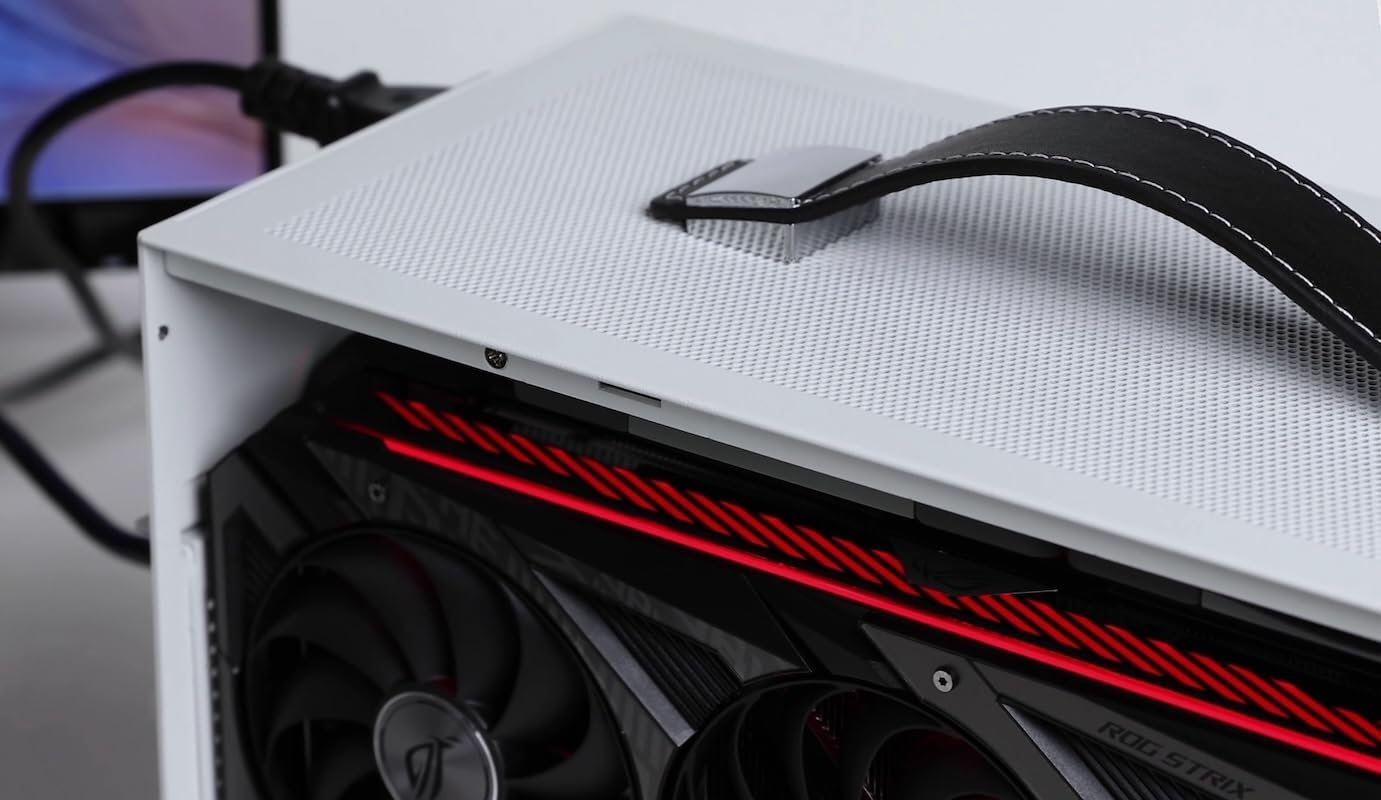
Figure 4: Removing the side panel to access the interior.
5.2. Motherboard, CPU, RAM, and SSD Installation
Install your CPU, RAM, and M.2 SSD onto the Mini-ITX motherboard before placing it into the case. Refer to your motherboard's manual for specific instructions.
Video 1: S300 - Mini-ITX Case Assembly Tutorial. This video demonstrates the assembly process for a similar Mini-ITX case, including CPU, RAM, and SSD installation on the motherboard.
5.3. PSU स्थापना
Install the SFX/SFX-L power supply into its designated bracket. Ensure the PSU fan is oriented correctly (typically facing outwards or towards an intake area) to avoid thermal issues. Connect the necessary modular cables to the PSU before securing it in the case.
६. GPU इंस्टॉलेशन
The S400 Pro supports triple-slot GPUs up to 337mm in length. Use the included PCIe 4.0 riser cable to connect your graphics card to the motherboard.
- Connect the PCIe riser cable to the motherboard's PCIe slot.
- Secure the GPU to the case's GPU bracket.
- Connect the other end of the PCIe riser cable to the GPU.
- Connect the GPU power cables from the PSU.

आकृती 5: अंतर्गत view showing a triple-slot GPU installed.

आकृती 6: तपशीलवार view of GPU installation within the case.
5.5. फॅन इन्स्टॉलेशन
Install fans as per the specifications for optimal airflow. The case supports one 120x25mm fan or a 3.5" HDD at the bottom, and two 120x15mm fans at the top.

Figure 7: Installation of a 120mm fan at the bottom of the case.
5.6. केबल व्यवस्थापन
Utilize zip ties and the case's internal routing options to manage cables effectively. Proper cable management improves airflow and aesthetics.
Video 2: KXRORS - Mini-ITX PC Gaming Case Assembly. This video provides a visual guide for assembling components and managing cables in a similar Mini-ITX case.
5.7. पुन्हा एकत्र करणे
Once all components are installed and cables are managed, reattach the side panels and secure them with the screws.

आकृती 8: बाजू view of the assembled MININGEEK S400 Pro case with the detachable carrying handle.

आकृती 9: मागे view of the assembled MININGEEK S400 Pro case.

Figure 10: Close-up of the front I/O ports, including USB 3.0, USB 2.0, Type-C, and audio jack.
6. ऑपरेटिंग सूचना
Connect your monitor, keyboard, mouse, and power cable to the assembled computer. Press the power button on the front panel to start your system. Refer to your operating system's documentation for further usage instructions.
7. देखभाल
To ensure longevity and optimal performance, regularly clean the dust filters and interior of the case. Use compressed air to remove dust from fans and heatsinks. Ensure all cables are securely connected.
8. समस्या निवारण
- सिस्टम चालू होत नाही: Check all power connections, including the PSU to the wall outlet, PSU to motherboard, and front panel power switch header.
- कोणतेही प्रदर्शन नाही: Ensure the monitor is connected to the graphics card (not the motherboard's integrated graphics ports, unless no dedicated GPU is installed). Verify GPU power connections and PCIe riser cable connection.
- जास्त गरम होणे: Confirm CPU cooler is properly installed with thermal paste. Check fan orientations and ensure sufficient airflow. Verify PSU fan orientation.
- सैल कनेक्शन: If experiencing intermittent issues, re-seat RAM, GPU, and all power/data cables.
9. हमी आणि समर्थन
For warranty information and technical support, please refer to the MININGEEK official webतुमच्या किरकोळ विक्रेत्याशी संपर्क साधा. वॉरंटी दाव्यांसाठी खरेदीचा पुरावा ठेवा.