
Prexiso B0DNDLT8TC
PREXISO Professional 61-Inch Aluminum Laser Level Tripod User Manual
Model: B0DNDLT8TC
परिचय
This manual provides detailed instructions for the setup, operation, and maintenance of your PREXISO Professional 61-Inch Aluminum Laser Level Tripod. Designed for stability and versatility, this tripod is compatible with laser levels, cameras, and other equipment featuring a 1/4-20 mounting thread. Please read these instructions thoroughly before use to ensure safe and efficient operation.
बॉक्समध्ये काय आहे
अनपॅक करताना, सर्व घटक उपस्थित आहेत आणि त्यांना नुकसान झालेले नाही याची खात्री करा.
- PREXISO Professional 61-Inch Aluminum Tripod
- Quick Release Plate with 1/4-20 mounting thread
- पोर्टेबल कॅरींग बॅग

Image: The PREXISO Professional 61-Inch Aluminum Tripod shown with its included carrying bag.
सेटअप सूचना
१. ट्रायपॉड उघडणे
- Remove the tripod from its carrying bag.
- Gently spread the three legs outwards until they are fully extended and stable.
- Ensure the leg locks are securely fastened to prevent accidental collapse.
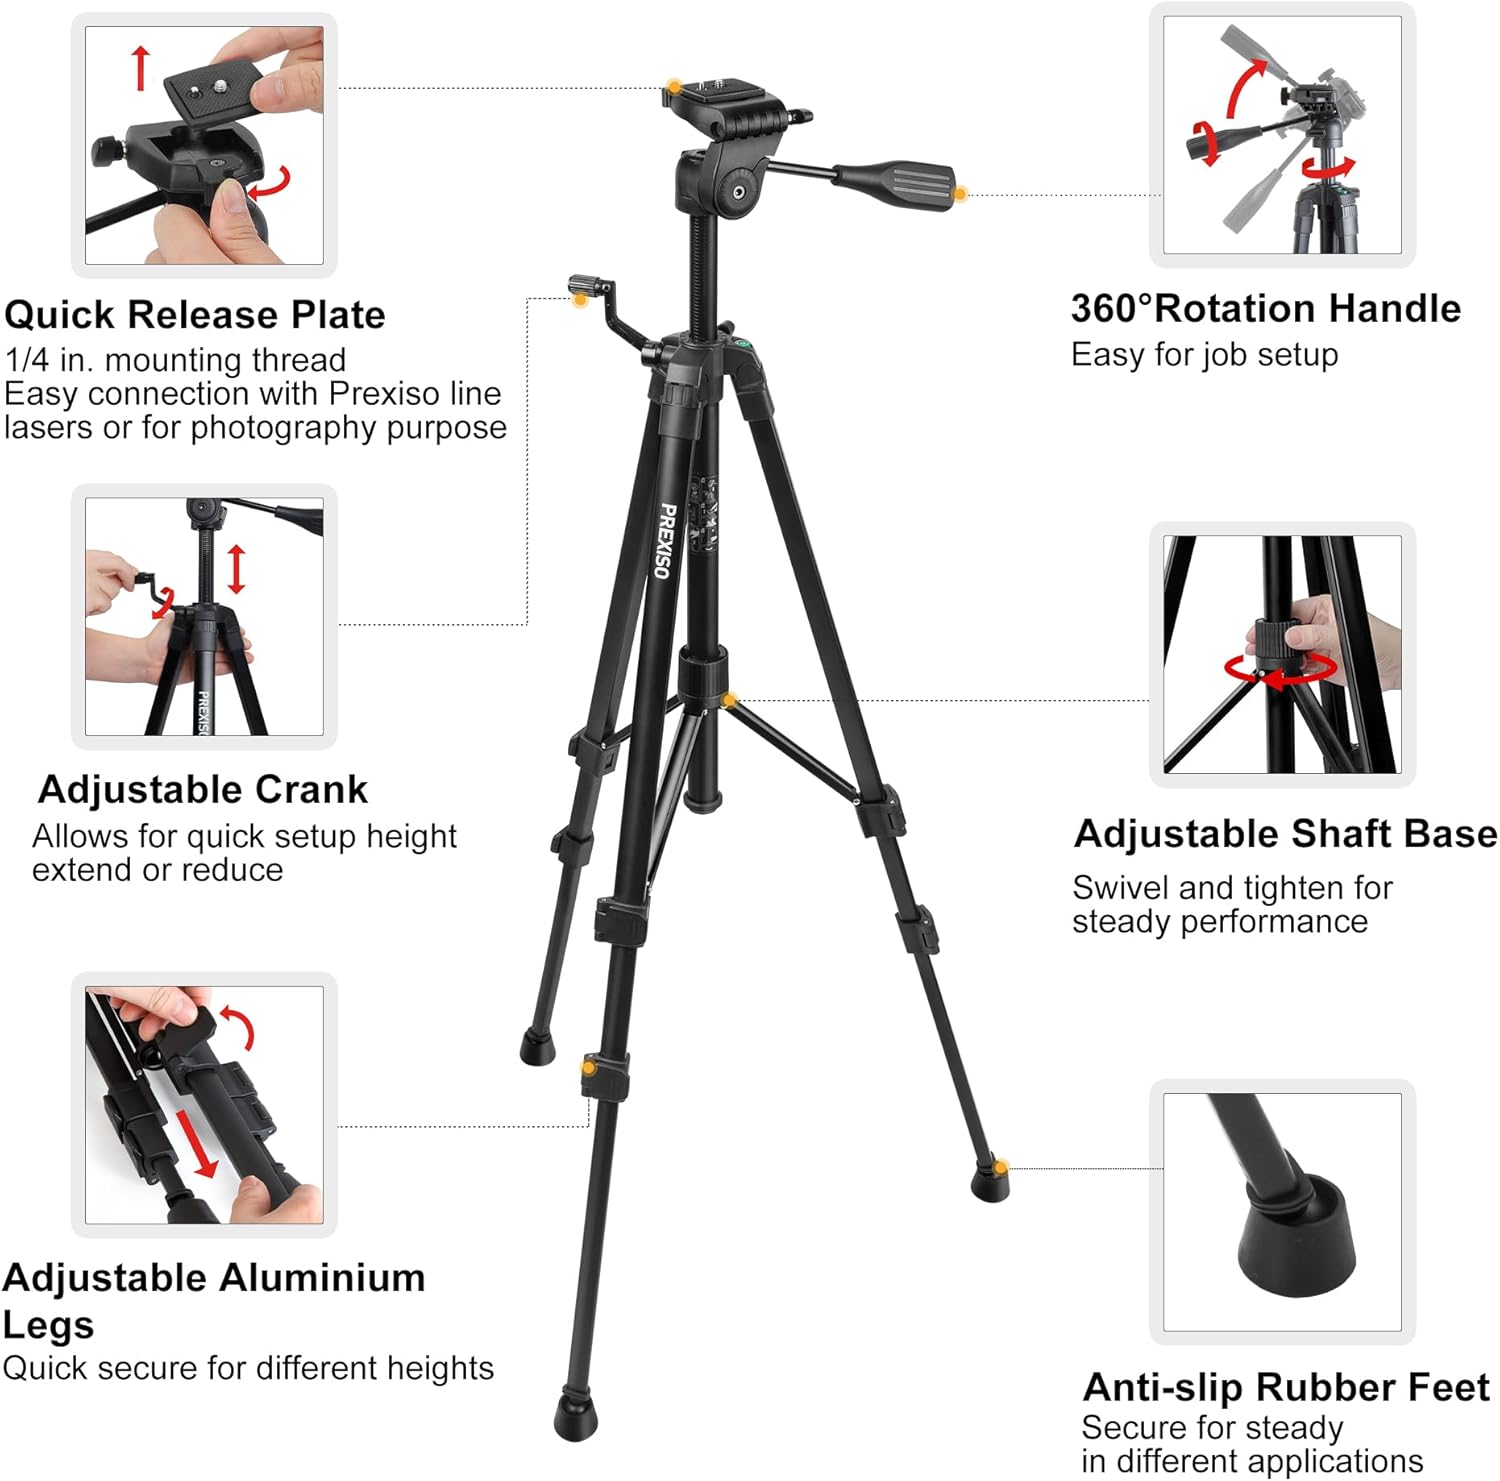
Image: The tripod with its legs fully extended, ready for height adjustment.
2. Attaching Your Device (Laser Level, Camera, etc.)
- Locate the quick release plate on the tripod head.
- Press the release lever to detach the quick release plate from the tripod head.
- Screw your laser level or camera onto the 1/4-20 mounting thread on the quick release plate. Ensure it is tightened securely.
- Slide the quick release plate, with your device attached, back into the tripod head until it clicks into place. Verify it is firmly seated.
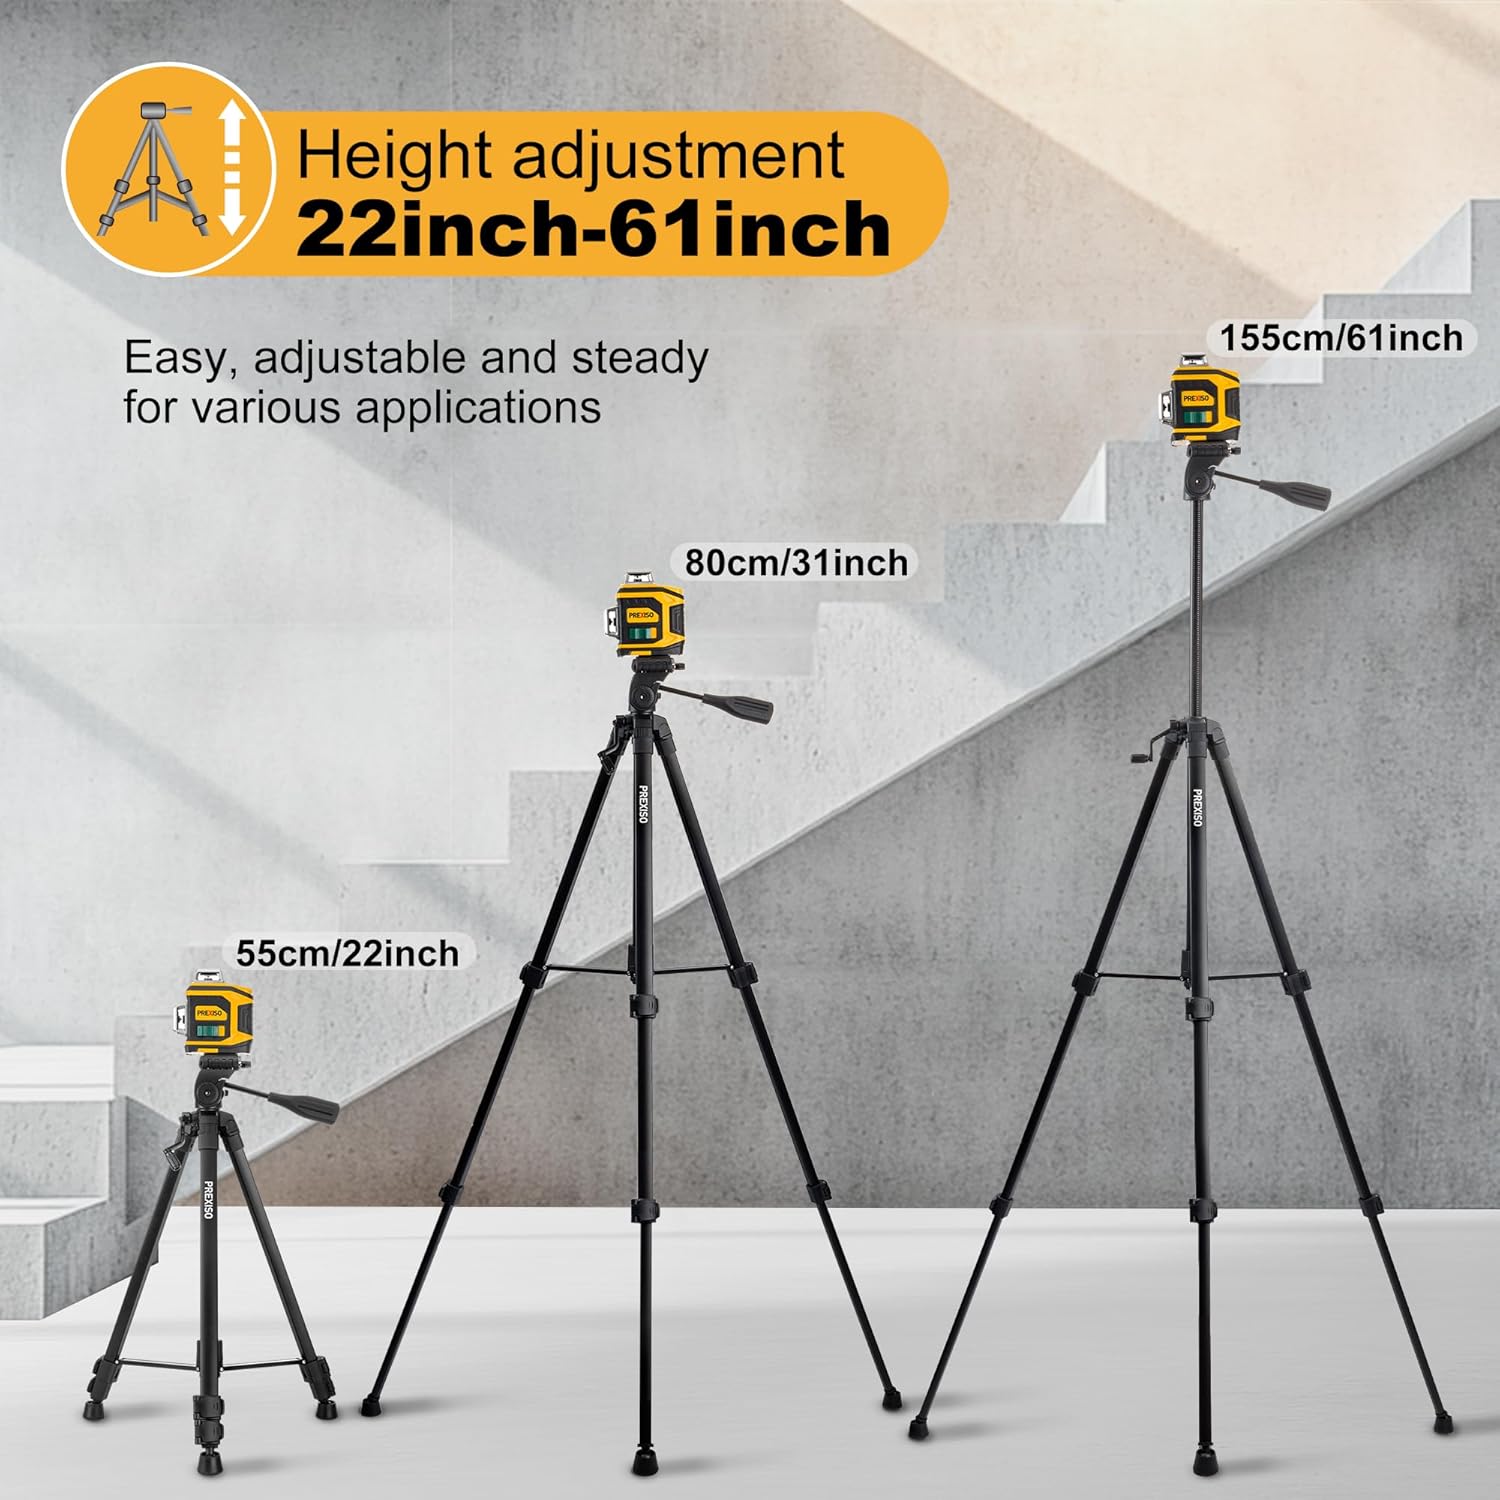
Image: A laser level securely mounted onto the quick release plate of the tripod.
Video: Demonstrates the quick release plate mechanism and how to attach a device to the tripod.
४. ट्रायपॉड समतल करणे
The tripod features a bullseye level on the head to assist in achieving horizontal alignment. Adjust the leg lengths as needed until the bubble is centered within the level indicator.

Image: Close-up of the tripod head showing the bullseye level for precise horizontal alignment.
ऑपरेटिंग सूचना
1. Adjusting Tripod Height
The tripod offers multiple height adjustments:
- पाय विभाग: Each leg has multiple sections with quick-release flip locks. Open the locks, extend the leg sections to the desired height, and then securely close the locks.
- मध्यभागी स्तंभ: For fine adjustments or additional height, use the crank handle to raise or lower the center column. Loosen the locking knob, rotate the crank, and then tighten the knob to secure the column.

Image: Visual representation of the tripod's adjustable height range, from 22 inches to 61 inches.
2. Horizontal and Tilt Rotation
The tripod head allows for flexible positioning of your device:
- Horizontal Rotation (360°): Loosen the horizontal rotation knob on the tripod head to pan your device 360 degrees. Tighten the knob to lock it in position.
- Tilt Rotation (90° Vertical): Use the tilt handle to adjust the vertical angle of your device. Loosen the handle, set the desired angle, and then tighten the handle to secure.

प्रतिमा: तपशीलवार view of the tripod head illustrating the range of motion for horizontal and vertical adjustments.
सुसंगतता
The PREXISO Professional Tripod is designed for broad compatibility with devices that utilize a 1/4-20 mounting thread. This includes, but is not limited to:
- Laser Levels (e.g., line lasers, point lasers)
- Laser Distance Measures
- डिजिटल कॅमेरे
- व्हिडिओ उपकरणे
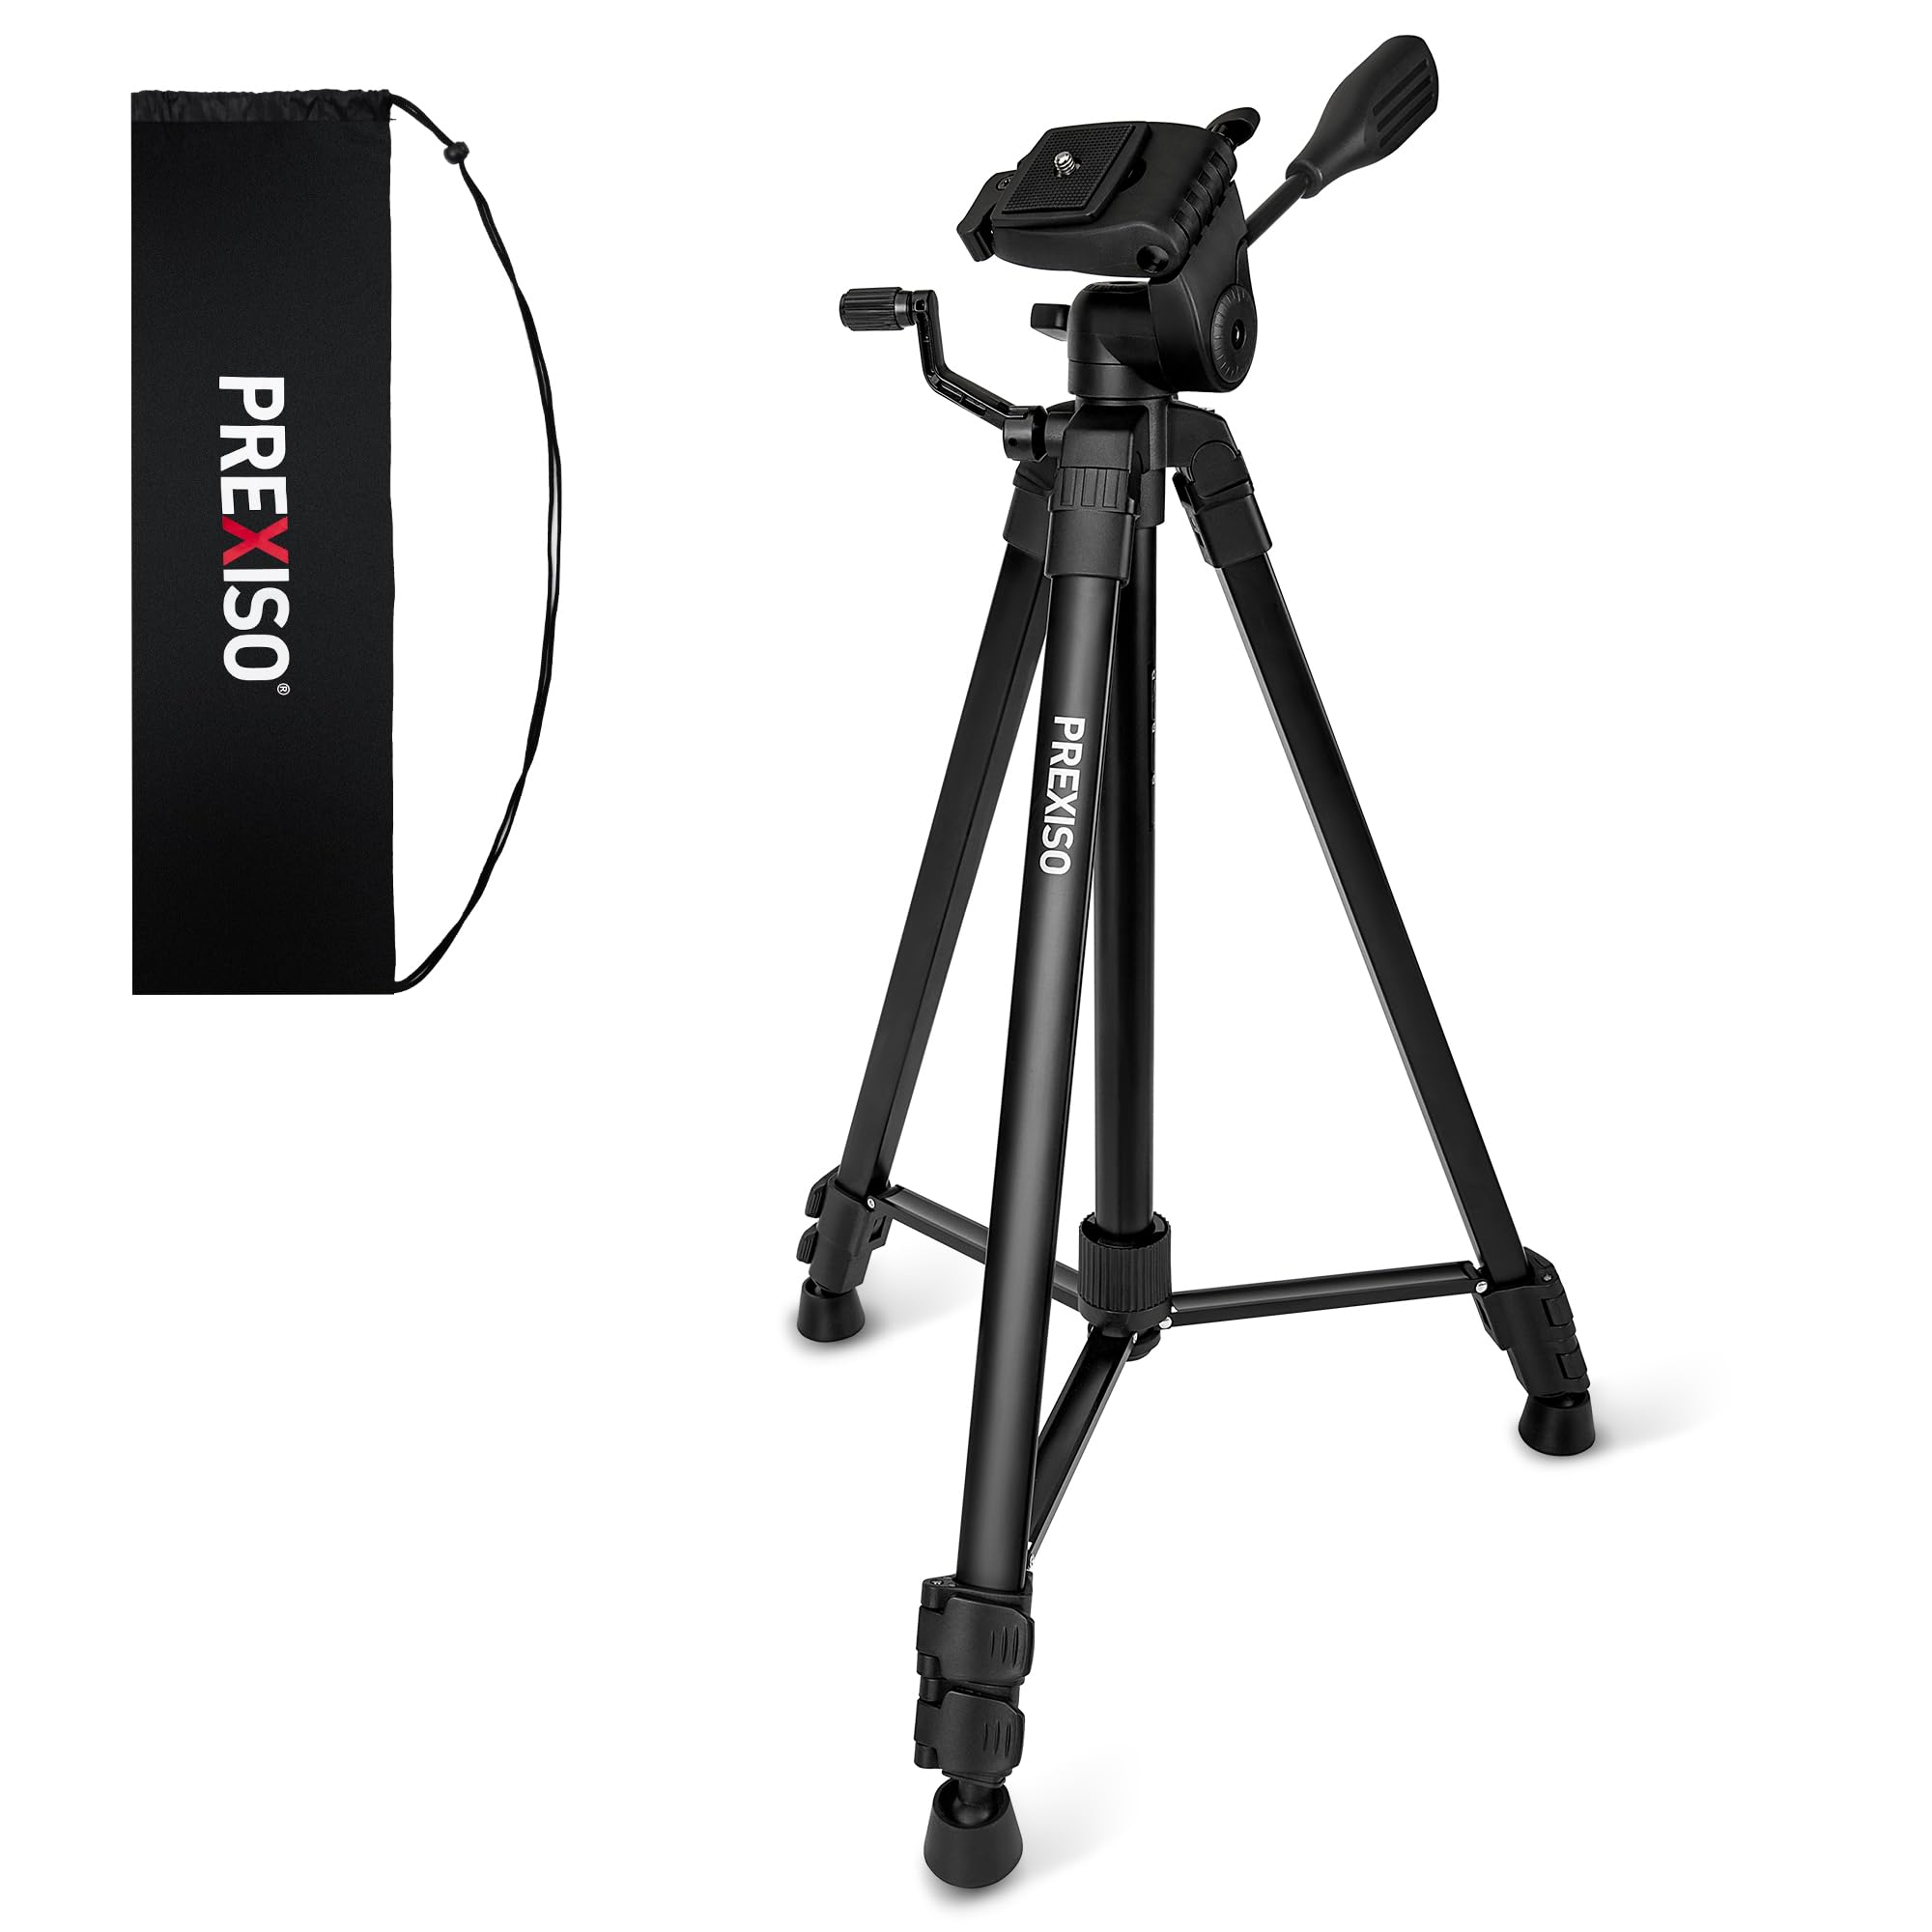
Image: The tripod shown with various compatible devices, including a laser level, laser distance measure, and a camera.
देखभाल
To ensure the longevity and optimal performance of your PREXISO tripod, follow these maintenance guidelines:
- स्वच्छता: मऊ, ड ने ट्रायपॉड पुसून टाका.amp cloth after each use to remove dust and debris. Avoid abrasive cleaners or solvents.
- स्टोरेज: When not in use, collapse the tripod and store it in its portable carrying bag in a dry, cool place to protect it from dust and moisture.
- तपासणी: Periodically check all screws, locks, and moving parts for tightness and proper function. Tighten any loose components.
- स्नेहन: Lightly lubricate moving parts, such as the center column mechanism, with a silicone-based lubricant if movement becomes stiff.
समस्यानिवारण
If you encounter issues with your tripod, refer to the following common problems and solutions:
- ट्रायपॉड अस्थिर आहे:
- सर्व पायांचे भाग पूर्णपणे वाढवलेले आहेत आणि त्यांचे फ्लिप लॉक सुरक्षितपणे बंद आहेत याची खात्री करा.
- Verify the center column locking knob is tightened.
- Adjust the rotatable rubber feet to achieve maximum contact and stability on uneven surfaces.
- Device is not securely attached:
- Confirm the 1/4-20 screw on the quick release plate is tightly fastened to your device.
- Ensure the quick release plate is fully inserted into the tripod head and the release lever is locked.
- Adjustments are stiff:
- Check for any debris obstructing moving parts.
- Apply a small amount of silicone lubricant to the affected mechanisms.
तपशील
| वैशिष्ट्य | तपशील |
|---|---|
| ब्रँड | Prexiso |
| मॉडेल | B0DNDLT8TC |
| साहित्य | ॲल्युमिनियम |
| कमाल उंची | 61.8 इंच (155 सेमी) |
| किमान उंची | 21.7 इंच (55 सेमी) |
| दुमडलेला आकार | 21.7 इंच (55 सेमी) |
| आयटम वजन | 3.19 पौंड (1.45 किलो) |
| माउंटिंग थ्रेड | 1/4-20 |
| डोके प्रकार | Ball Heads (Pan/Tilt Head) |
| पायांचे विभाग | 3-विभाग पाय |
| पाय | Anti-Skid Rubber Feet (Rotatable) |
| रंग | काळा |
हमी आणि समर्थन
For warranty information or technical support, please refer to the contact details provided with your product packaging or visit the official PREXISO webसाइट. खरेदीचा पुरावा म्हणून तुमची खरेदी पावती ठेवा.
Ask a question about this manual
Ask about setup, troubleshooting, compatibility, parts, safety, or missing instructions. Manuals+ will review the question and use this page’s manual context to help answer it.