Gravity GW15D-Single
Gravity Warzone 15 Inch Car Audio Subwoofer Instruction Manual
Model: GW15D-Single | Brand: Gravity
1. परिचय
Thank you for choosing the Gravity Warzone 15 Inch Car Audio Subwoofer. This high-performance subwoofer is designed to deliver powerful and clear bass, enhancing your vehicle's audio system. Please read this manual thoroughly before installation and operation to ensure proper use and maximize the lifespan of your product.
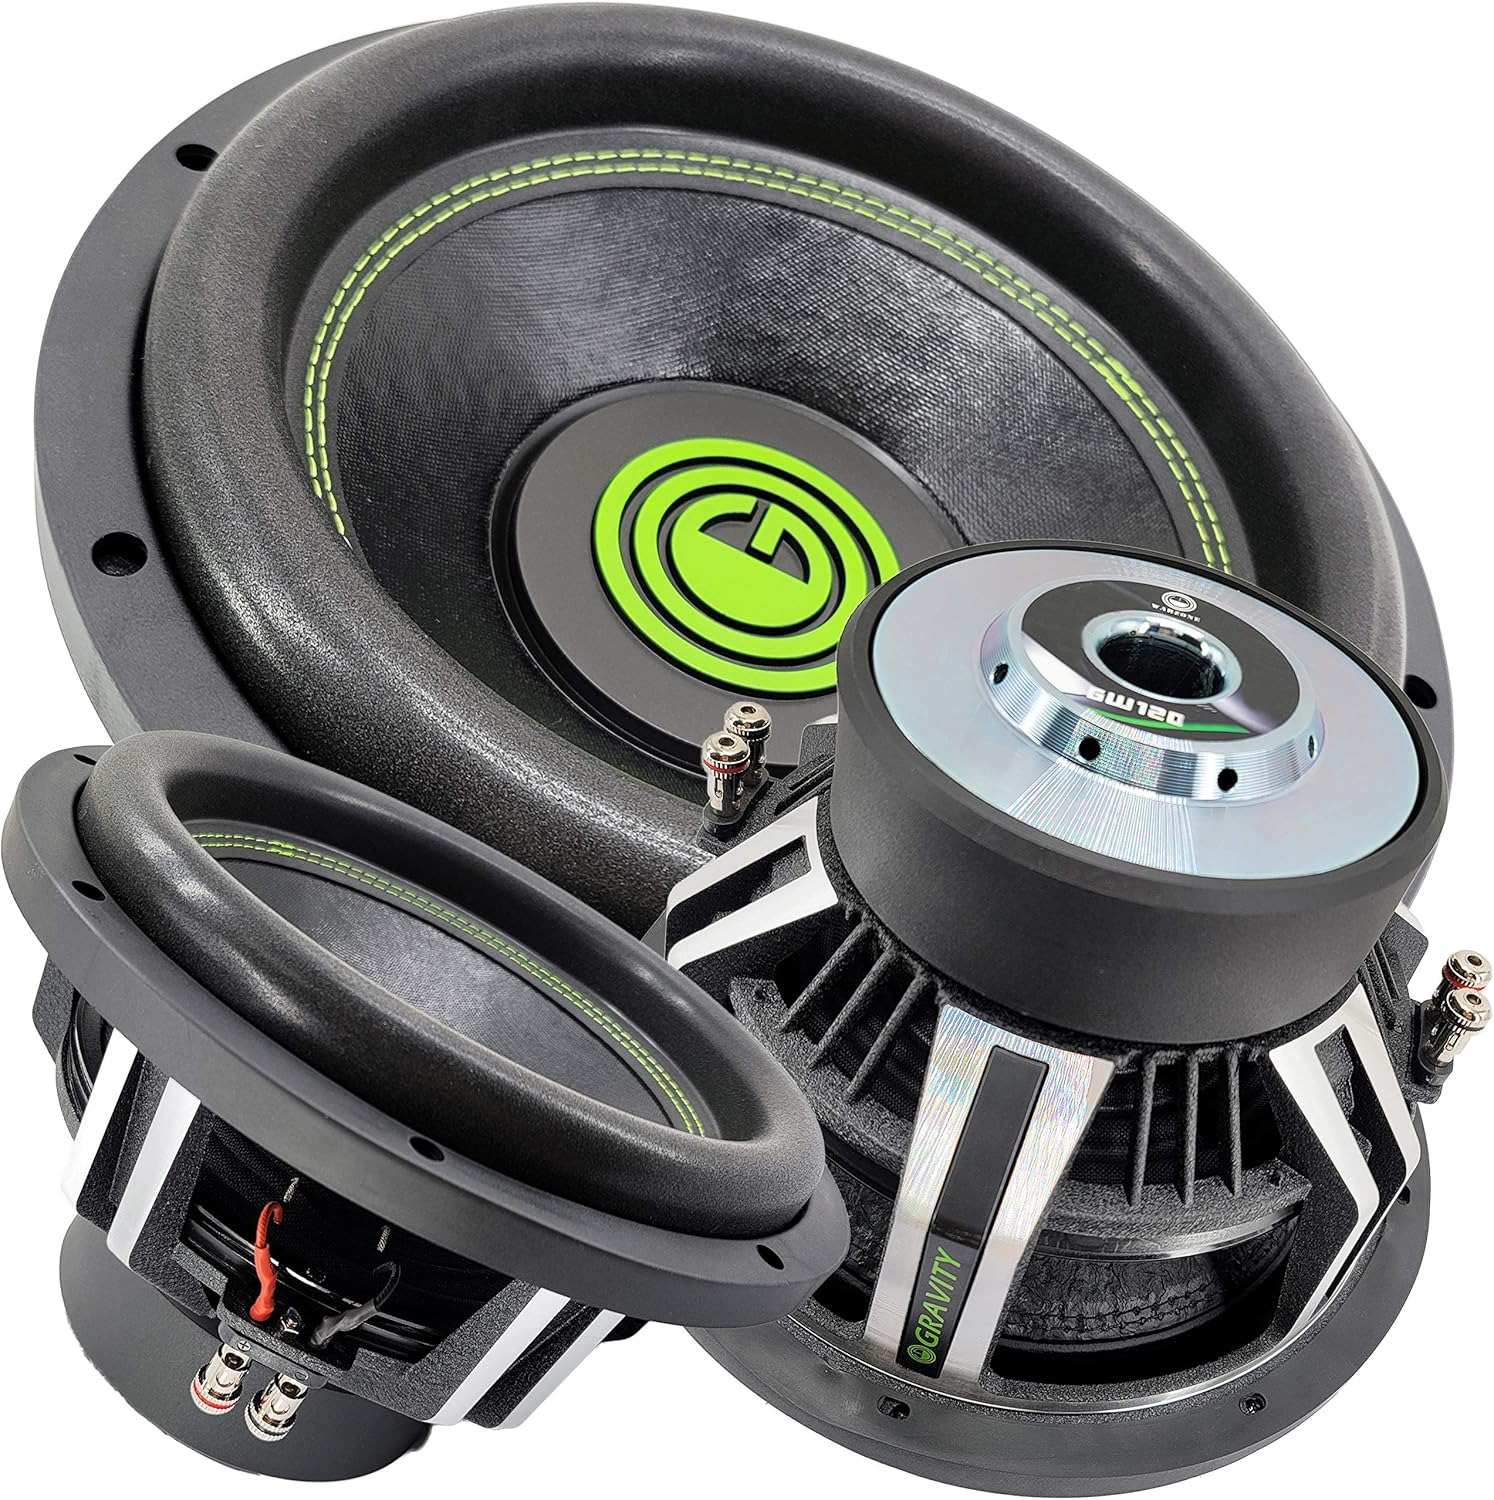
Figure 1: Gravity Warzone 15 Inch Car Audio Subwoofer, showcasing its robust design and green accent stitching.
2. सेटअप आणि स्थापना
2.1 अनपॅक करणे
Carefully remove the subwoofer from its packaging. Inspect the unit for any signs of damage that may have occurred during shipping. If any damage is found, contact your retailer immediately.
2.2 Recommended Enclosure
For optimal performance, it is highly recommended to install this subwoofer in a properly designed and constructed sealed or ported enclosure. Consult a professional car audio installer or refer to specialized audio resources for appropriate enclosure volume and port tuning for a 15-inch subwoofer.
2.3 वायरिंग कनेक्शन
The Gravity Warzone subwoofer features a Dual Voice Coil (DVC) design with 4 Ohm impedance per voice coil. Proper wiring is crucial for optimal performance and to prevent damage to the subwoofer or ampलिफायर. खात्री करा की तुमचे amplifier is stable at the chosen impedance.

आकृती 2: क्लोज-अप view of the subwoofer's dual voice coil terminals, showing the positive and negative connections for each coil.
Parallel Wiring (2 Ohm Load): Connect the positive (+) terminal of voice coil 1 to the positive (+) terminal of voice coil 2. Connect the negative (-) terminal of voice coil 1 to the negative (-) terminal of voice coil 2. Then, connect the amplifier's positive output to the combined positive terminals and the amplifier's negative output to the combined negative terminals. This configuration results in a 2 Ohm load.
Series Wiring (8 Ohm Load): Connect the positive (+) terminal of voice coil 1 to the amplifier's positive output. Connect the negative (-) terminal of voice coil 1 to the positive (+) terminal of voice coil 2. Connect the negative (-) terminal of voice coil 2 to the amplifier's negative output. This configuration results in an 8 Ohm load.
Always ensure all connections are secure and free from short circuits. Use appropriate gauge wiring for power and speaker connections.
3. ऑपरेटिंग मार्गदर्शक तत्त्वे
३.३ ब्रेक-इन कालावधी
Allow a break-in period of approximately 20-30 hours of normal listening before operating the subwoofer at high volumes. This allows the suspension components (surround and spider) to loosen up, improving performance and longevity.
3.2 Ampलाइफायर मॅचिंग
This subwoofer has a peak power handling of 3500 Watts. Ensure your amplifier's RMS power output is appropriately matched to the subwoofer's RMS power handling to prevent underpowering or overpowering, both of which can cause damage. Underpowering can be as damaging as overpowering due to ampलिफायर क्लिपिंग.
५.२ क्रॉसओवर सेटिंग्ज
तुमचा वापर करा amplifier's or head unit's low-pass filter (LPF) to send only low frequencies to the subwoofer. A typical LPF setting for this subwoofer would be between 80Hz and 120Hz, depending on your full-range speakers and personal preference. Avoid sending full-range audio signals to the subwoofer.
4. देखभाल
The Gravity Warzone subwoofer requires minimal maintenance. Keep the cone and surround free from dust and debris. Periodically check all wiring connections to ensure they remain secure. Avoid exposing the subwoofer to excessive moisture or extreme temperatures, as it is not waterproof.
5. समस्या निवारण
| समस्या | संभाव्य कारण | उपाय |
|---|---|---|
| सबवूफरमधून आवाज येत नाही |
|
|
| विकृत आवाज |
|
|
| कमकुवत बास आउटपुट |
|
|
6. तपशील

आकृती 3: शीर्ष view of the Gravity Warzone Subwoofer, highlighting the pressed paper cone and high roll foam surround.
- मॉडेल: GW15D-Single
- स्पीकरचा प्रकार: कार सबवूफर
- वूफर व्यास: 15 इंच
- पीक पॉवर हाताळणी: 3500 वॅट्स
- प्रतिबाधा: 4 Ohm Dual Voice Coil (DVC)
- साहित्य: दाबलेला कागदाचा कोन
- सभोवताल: High Roll Foam Surround
- कूलिंग सिस्टम: Advanced Air Flow Cooling System
- वारंवारता प्रतिसाद: 30 - 500 हर्ट्ज
- संवेदनशीलता: 85 dB
- कनेक्टिव्हिटी तंत्रज्ञान: वायर्ड
- आयटम वजन: 28.3 पाउंड
7. हमी आणि समर्थन
Gravity products are designed for durability and performance. For information regarding warranty coverage, terms, and conditions, please refer to the warranty card included with your product or visit the official Gravity website. For technical support or service inquiries, please contact Gravity customer service through their official channels.
कृपया वॉरंटी दाव्यांसाठी तुमचा खरेदीचा पुरावा ठेवा.
Ask a question about this manual
Ask about setup, troubleshooting, compatibility, parts, safety, or missing instructions. Manuals+ will review the question and use this page’s manual context to help answer it.